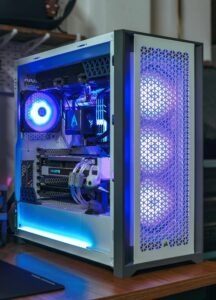
I remember well the first time I decided to build a gaming PC. It was more than a purchase; it became a passion. If you’re considering building your own, there’s plenty to look forward to. The journey to assembling a gaming rig that suits your unique needs is paved with choices to make and lessons to learn – it’s not merely a technical endeavor but a personal one too.
Why build a gaming PC? I found the allure lies in the customization. Choosing each component allows for a tailored experience that pre-built systems simply can’t match. As I delved into processors and graphics cards, I realized every decision from the CPU to the casing impacted performance and aesthetics.
Before you start, I implore you to consider the budget and objectives for your PC. Are you dreaming of ultra-high resolutions and frame rates, or is mid-range performance sufficient for your gaming needs? Setting clear goals will inform every subsequent choice and help manage your expenditure.
Beyond the thrill of gaming on a machine you’ve put together yourself, the DIY approach comes with added benefits. You gain intimate knowledge of your system, making troubleshooting easier. Plus, you’ll likely get better price-to-performance value than with a pre-built counterpart. And let’s not overlook the sense of accomplishment – there’s nothing quite like firing up a game on a PC you’ve built from scratch.
Now, as we transition to the CORE of your gaming PC build – the choice of components – remember that understanding the role of each part will make your selection process smoother. In the next section, we will delve into the vital elements of a gaming PC, including CPUs, GPUs, and the balancing act between performance and price.
Essential Components and Specifications
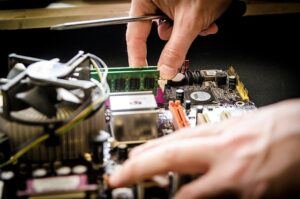
Choosing the right components for your gaming PC is like plotting a course for a ship; you need the right map to find the treasure. So, let’s get down to the specifics. Your gaming experience hinges on the power and compatibility of the parts you select. It’s not just about the bells and whistles; it’s about what each part brings to the table and how they work together.
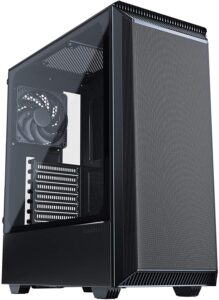 The Computer Case, this is often overlooked but it should be the first thing to consider when building a Gaming PC. Consider the form factor that suits your needs. There are three main sizes to choose from. (ATX, Micro-ATX, Mini-ITX), with the ATX being the most common choice, offering ample space for components and expansion. Match your case size with your motherboard form factor. For instance, if you opt for an ATX computer case, ensure your motherboard is also ATX-sized for a seamless fit.
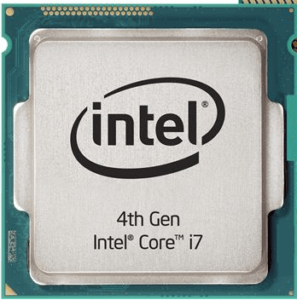
- The CPU, or the Central Processing Unit, when choosing you CPU, it must be compatible with your Motherboard, I can’t overstress the importance of this choice. Another thing you should consider are the cores and clock speeds, as well as how recent the model is to ensure longevity. More cores can handle multiple tasks at once, while higher clock speeds deliver quick responses to each command.
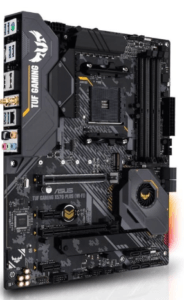
Motherboard, Motherboards are like the foundation of a house—they hold everything together. You need one compatible with your CPU, if you have an AMD CPU, you cannot pair it with an Intel Motherboard and vice versa. Make sure you choose a Motherboard that has a socket that matches your CPUs.
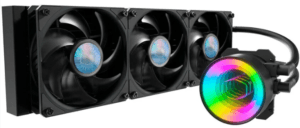
Cooling don’t play with fire when it comes to cooling. Overheating can tank performance and damage your components. While some CPU come with a Cooling Fan, A good cooling system, whether air or liquid, can make or break the stability and longevity of your build.
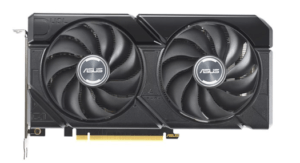
Graphics Card, or Graphics Processing unit, really is the heart of your gaming setup. It’s responsible for rendering the visuals and directly impacts your gaming experience. Don’t skimp here; go for a GPU that can handle your highest graphical demands without breaking a sweat. Balance raw power with futureproofing to avoid rapid obsolescence.
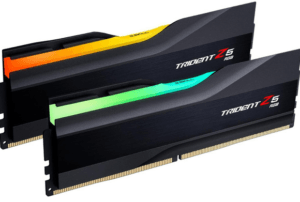
RAM isn’t just a place to store data; it’s also about speed. RAM, or Random Access Memory, allows your PC to access necessary information quickly. 16GB of RAM is a great starting point for gaming, but 32GB could be a smart investment for heavy multitaskers. Choose memory that your Motherboard is able to support DDR4 or the newer DDR5.
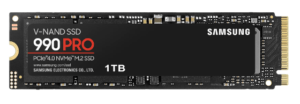
Internal Storage, for your main storage, consider a NVMe M.2 Internal SSD, or Solid-State Drive, for operating system and games—In this case I will focus on the NVMe M.2 SSD, it’s like moving from dial-up to broadband.
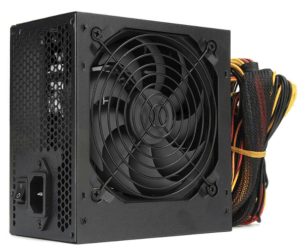
Power Supply Unit, Calculate the power consumption of your components, including the CPU, GPU, motherboard, storage drives, and any additional peripherals. Start with the minimum wattage requirement for your graphics card. If, for instance, the minimum requirement is 750W, consider opting for a PSU with a higher wattage, such as a 1000W unit. This provides headroom for future upgrades and ensures stable power deliver.
Finally, you will need an Operating System such as Windows 11
The Assembly Process
If you’ve got your components lined up, it’s time to roll up your sleeves and start the assembly. Think of it like high-stakes LEGOs where the instructions matter, and you’re the architect and builder rolled into one.
I advise that you ground yourself to prevent static electricity from damaging the components. A static wristband is a good investment or frequently touch a grounded metal object.
Preparing the Case
- We will start with the Case first, remove all the Panels, we are now ready to start our build, first we will install the Power Supply Unit to the Case, attach all the required power cables to the PSU, then secure it to the bottom of the Case. (refer to your manual if needed) now set aside.
Preparing the Motherboard
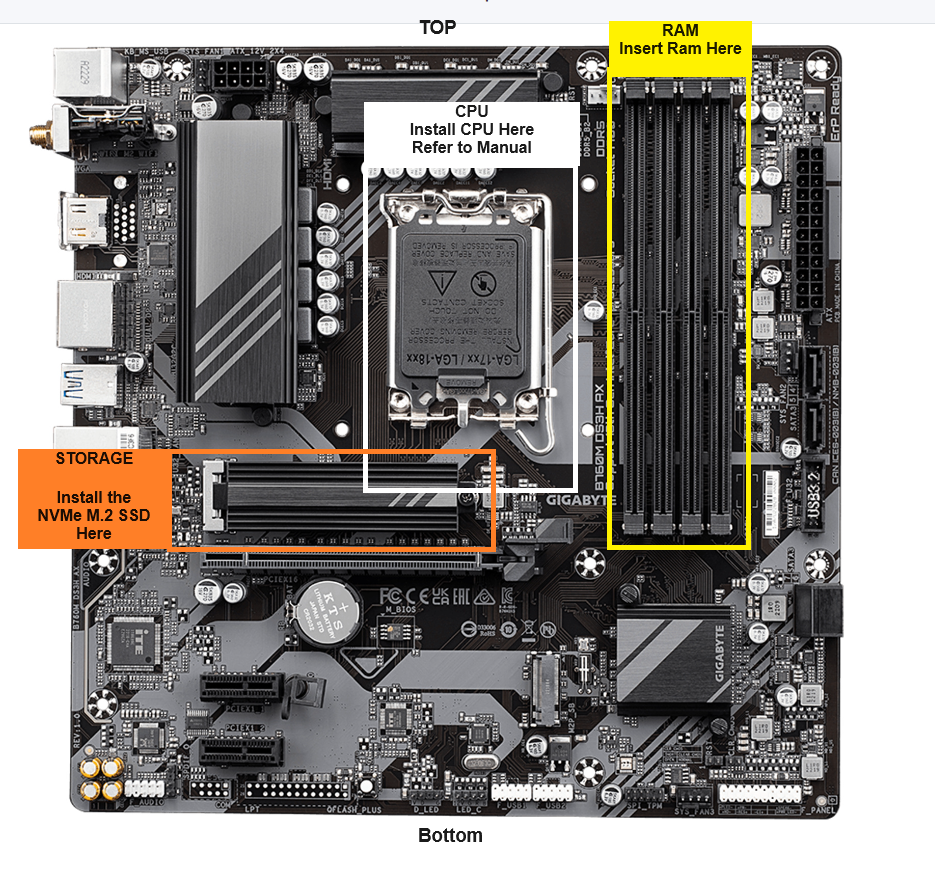
Next, we will build on the Motherboard, take some time and familiarize yourself with the layout, as this will help with the build process.
- CPU First, attach the CPU with caution as it is a delicate component. Carefully align the pins, gently lower the CPU into its socket, and secure it without applying any force.
- RAM Next, install the RAM by snapping it into the sockets near the CPU. Ensure the notches are aligned and the clips click into place.
- Storage. For the storage installation, insert the NVMe M.2 SSD into the motherboard’s PCI slot and fasten it with the heat sink. I would recommend at least 2TB.
Attaching Motherboard to Case.
The next step is to install the Motherboard into the Case. Remember to take your time, especially when considering the I/O shield, as it’s often overlooked. Attach the standoffs to the case, align the motherboard, and then secure it with screws. The standoffs ensure that the motherboard does not touch the case directly.
- With the motherboard installed, now is the ideal time to begin wiring it up.
- Start with the CPU Power Connector, usually top left or near the CPU.
- Attach The Motherboard Power Cable.
- Attach all the Case Fans power connectors.
- Audio Connector (Typically Bottom left of Motherboard.)
- Front Panel Connectors for Power/Reset Button (Typically Bottom Right of Motherboard)
- USB 3.0 for the front Panel (Line up Perfectly before pushing in BE VERY CAREFUL)
- USB C for the front of the Case
Cooling and Graphics Card
- Effective cooling is essential. Whether employing fans or liquid cooling systems, it’s important to install them strategically to enhance airflow. Cable management isn’t solely for aesthetics; organized wiring also contributes to improved airflow. For liquid cooler installation, always consult the manual. After installation, connect the power cable to the motherboard.
- Installing a graphics card can be a gratifying experience. Insert it into the topmost PCIe slot until you hear a click. Then, fasten it to the case and connect it to the power supply.
Boot Test and Windows Install
Once all components are properly installed, it’s time to perform a Boot Test. Connect your monitor, keyboard, and mouse, and then press the power button. If the lights turn on and the fans start spinning, that’s great! If they don’t, there’s no need to worry. Recheck all connections and attempt the process once more. Often, it’s simply a matter of a loose cable.
Once your PC successfully powers on, it should boot into the BIOS. At this stage, you can confirm that all hardware components are detected and modify settings like the boot order. If needed, update the firmware to address problems and improve system stability.
After completing the Boot Test, you can proceed to install Windows. Ensure you have your Windows Key and a Flash Drive with the installation tool ready. From the BIOS menu, configure the boot sequence to prioritize USB, then insert your Flash Drive into a USB port, save the changes, and exit. Simply follow the on-screen instructions from this point, and you’ll be all set.
Congratulations! your build is complete, from here, you may want to perform a stress tests. These tests push your system to ensure its stable and not overheating under load. Software like Prime95 or 3DMark can help with this, but before you do, you may need to update your drivers. For your motherboard and graphics card, you can download the drivers from their respective websites.
Once your PC passes that trial by fire, pat yourself on the back. You’ve just assembled a gaming rig that’s ready to tackle the latest titles.

Your guide provides a solid foundation for anyone venturing into the world of PC building. It strikes a fine balance between technical detail and approachable narrative, making it not just a how-to manual but a source of inspiration. By addressing a few additional details and expanding on some of the sections, you could elevate this guide to an indispensable resource for aspiring PC builders.
Happy building, and keep sharing your passion!
Best regards,
Saba
Hi Saba
Thanks for the positive feedback, i tried making this guide as simple and short as possible without leaving out any important information.
Chris, your guide on building a gaming PC is incredibly detailed and well-structured! I appreciate how you emphasize the personalization and learning journey that comes with assembling your own rig. The step-by-step breakdown from choosing components to the assembly process really demystifies what can seem like a daunting task. One thing I’m curious about: with the rapid advancements in technology, are there any considerations or tips you’d offer for someone looking to future-proof their gaming PC build? Thanks again for sharing your expertise.
With the rapid rate at which technology progresses, you may never fully, be able to Future Proof a Gaming PC.
But you would want to build a Gaming PC, that will remain relevant and capable of handling new software, games as well as updates for as long as possible.
The first 2 things I typically focus on, is The Motherboard, The CPU.
Selecting a high-quality motherboard paired with a strong CPU forms the cornerstone of building a top-tier gaming PC.
Once you have your Motherboard and CPU selected, you can assemble your PC to meet your current requirements. In my experience, I’ve mostly upgraded by adding more RAM or updating the graphics card. Usually, I opt to build a completely new PC instead.